|
|
| Payment Tracker Self Help | |
| Browse through the navigation panel for the information you are interested in. | ||||||

|
|
|
|
|||

| Step | Action |
| 1 |
Supplier submit invoice online. OR, Intel Finance key into payment system. |
| 2 | Invoice created will be viewable in Payment Tracker after TWENTY-FOUR (24) hours. |
| 3 | Supplier enter search criteria. |
| 4 | Payment status will be displayed accordingly. |
| Step | Action |
| 1 |
Go to supplier.intel.com.
|
| 2 |
Click Sign In.
|
| Result: The Intel Login page will be displayed. | |
| 3 | Enter your Login ID and Password. |
| 4 | Click Sign In button. |
| Result: The Supplier Information page will be displayed. | |
| 5 | Click Intel Payment Tracker link. |
| Result: The Payment Tracker tool will be displayed. |
| Step | Action |
| 1 |
Go to supplier.intel.com.
|
| 2 |
Click Sign In button.
|
| Result: The Intel Login page will be displayed. | |
| 3 | Enter your User ID and Password. |
| 4 | Click Sign In button. |
| Result: The Supplier Information page will be displayed. | |
| 5 | Click Manage My Account > Application Access link. |
| Result:The Application Access page will be displayed | |
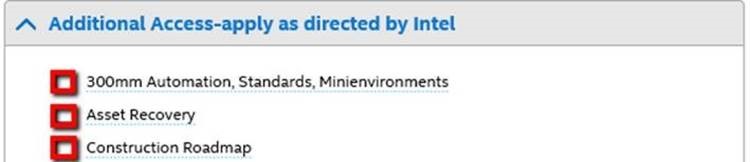
| 6 |
Select checkbox to request for additional permissions.
|
| 7 | Click Next. |
| Note: You might be prompted to provide additional information. | |
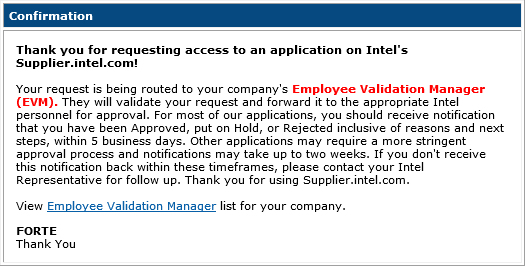
|
Result: The confirmation message will be displayed. Your application is now subject to your EVM’s approval.
|
| Step | Action | |||||||||
| 1 |
Go to supplier.intel.com.
|
|||||||||
| 2 |
Click Register button.
|
|||||||||
| Result: The Registration page will be displayed. | ||||||||||
| 3 | Click Manage my Account link. | |||||||||
| 4 | Enter your User ID and Password. | |||||||||
| 5 | Click Sign In button. | |||||||||
| Result: The Manage My Account page will be displayed. | ||||||||||
| 6 | Click Check Status of Application/EVM Requests link. | |||||||||
Result: The date and status of your request will be displayed.
|
| Step | Action |
| 1 |
Go to supplier.intel.com.
|
| 2 |
Click Sign In button.
|
| Result: The Intel Login page will be displayed. | |
| 3 | Enter your User ID and Password. |
| 4 | Click Sign In button. |
| Result: The Supplier Information page will be displayed. | |
| 5 | Click Manage My Account > Upgrade to Standard (Full) Registration link. |
|
Result: The Upgrade to Standard (Full) Registration page will be displayed.
|
|
| 6 | Click Begin button. |
| 7 |
Select the checkbox for Intel® Web Suite (Invoice/PO/Payment Tracker/ASN/Forecast) - Suppliers Only.
|
| 8 | Click Next button. |
| Result: The access request form will be displayed. | |
| 9 | Update all the mandatory fields. |
| 10 | Click Next button. |
|
Result: The upgrade request will be routed to your company’s EVM for approval. Note: If your company does not have EVM, kindly refer to Supplier Registration > How do I become an EVM? |
| Step | Action |
| 1 | Go to Intel Web PO. |
| 2 |
Click EVM conversion link.
|
| Result: The Upgrade to Standard (Full) Registration page will be displayed. | |
| 3 | Click Begin button. |
| 4 |
Select the checkbox for Intel® Web Suite (Invoice/PO/Payment Tracker/ASN/Forecast) - Suppliers Only.
|
| 5 | Click Next button. |
| Result: The access request form will be displayed. | |
| 6 | Update all the mandatory fields. |
| Note: Mouse over the “?” icon for explanation of what to fill. | |
| 7 | Click Next button. |
|
Result: The upgrade request will be routed to your company’s EVM for approval. Note: If your company does not have EVM, kindly refer to Supplier Registration > How do I become an EVM? |